


| Common Assembly instruction |
|
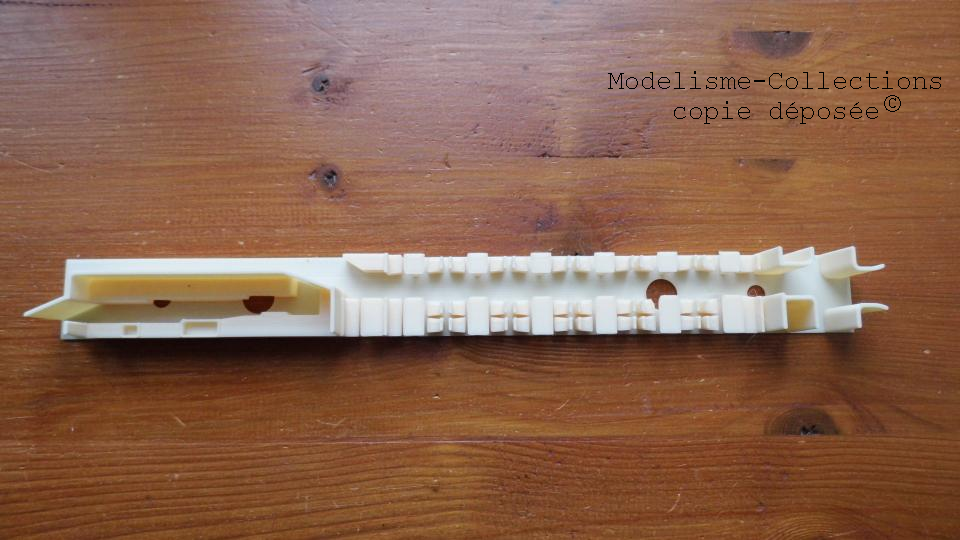
ORDER OF STEPS TO ADAPT ACCORDING TO THE MODELS: 1 - Remove the parts in bunches if necessary. 2 - Deburr the parts of the biggest flaws. 3 - Sand the pieces in places to eliminate some minor flaws. 4 - Place a light primer (with an airbrush or aerosol preferably by brush) not mandatory but we get better then made especially for the aisle walls. 5 - Painting the different parts in the appropriate colors EXCEPT FOR NETS (with an airbrush or aerosol preferably by brush). 6 - Assemble - collage partitions with the seats. 7 - Glue the nets. 8 - Paint brush end the high walls the same color as the other partitions, Except nets which remain in the original color 9 - Paste characters and eventually bring all in the car 10 - For the installation of booths: start by sticking a round face under the rim side roof at a sharp angle, then the two straight sides (note the direction because there is a cutout for the riveted band for OCEM) then the last round side. Then paint before gluing. It is possible to cut the roof and windows inside the bungalow too. For OCEM JOUEF it must be cut and level off the sprue and 6 lugs located at the bottom of the box. In the case of cars 2 or 3 axles MMM RG, we must crush the son of brass inside crates. Must only keep the sides of the glazing, or replace them with more preferably transparent. For PLM Fulgurex cars, then back inside the box (see photos on website) by forcing slightly on the wall of the toilet, and then reassemble the box with the frame |

ON PARLE DE NOUS
Copyright © 2026 Modélisme Collections
Powered by osCommerce
User manual • Shipping & Returns • Contact Us •
Témoignages • Conditions of Use
Powered by osCommerce
User manual • Shipping & Returns • Contact Us •
Témoignages • Conditions of Use